Seasonal Decorating Tips: Fall Wreath Ideas That Wow
nadine
- September 17, 2025
- 6 min read
Hey friend! 🍂 Can we talk about how fall somehow manages to make everything feel cozy, golden, and picture-perfect… except your front door? If your door is still rocking last year’s sad wreath or, worse, nothing at all, it’s time to fix that. I’ve spent more autumns than I care to admit hunting for fall wreath ideas that wow, and let me tell you—it doesn’t have to be complicated or expensive. Today, we’ll chat about seasonal decorating tips for creating stunning fall wreaths, with a mix of DIY fun, budget-friendly hacks, and pro styling tricks.
1. Start With a Strong Base
Before you get fancy, you need a solid foundation.
Choosing Your Wreath Frame
- Grapevine wreaths – classic, rustic, and sturdy; perfect for an autumn look.
- Foam or wire frames – great if you want to go heavy on flowers or embellishments.
- Willow or twig wreaths – ideal for a minimalist, nature-inspired vibe.
FYI: I usually grab a medium-sized grapevine wreath—it’s versatile and holds decorations like a champ. Seriously, it’s my go-to year after year.
2. Pick a Seasonal Color Palette
Fall is all about rich, warm tones. Think burnt orange, deep reds, golden yellows, and earthy browns.
How to Keep It Cohesive
- Choose 2–3 main colors and complement with neutral accents like beige, cream, or soft green.
- Metallic touches like gold or copper add a luxe feel without going overboard.
Quick tip: Stick to your palette—too many colors can make even the cutest wreath look chaotic. I learned this the hard way after a “creative” DIY that looked more clown than cozy. 😅
3. Incorporate Natural Elements
Nature gives us the best textures and colors for autumn decor.
- Leaves: Use real or faux maple and oak leaves for that classic fall vibe.
- Pinecones: Tiny or large, they add depth and dimension.
- Berries: Faux red or orange berries pop against muted leaves.
Pro tip: Mix sizes and textures. I usually layer small pinecones around a cluster of faux berries—it gives the wreath a hand-crafted, expensive look.
4. Add Florals for Softness
Don’t underestimate the power of flowers—even in fall!
- Sunflowers: Big, bold, and cheerful—they scream “autumn sunshine.”
- Chrysanthemums: Classic fall blooms that last a long time.
- Dried flowers: Perfect if you want something low-maintenance but visually stunning.
Personal anecdote: I added a few dried flowers to my wreath last year, and neighbors actually asked if I bought it from a boutique. Spoiler: I didn’t. DIY FTW. 😎
5. Play With Layers and Dimension
Flat wreaths are fine… but layered ones? Chef’s kiss.
Layering Ideas
- Start with leaves and greenery as a base layer.
- Add flowers and pinecones on top.
- Finish with ribbons, berries, or mini pumpkins for texture.
FYI: Layering makes your wreath feel three-dimensional and expensive, even if you spent \$20 at a craft store.
6. Incorporate Unexpected Elements
Want your wreath to stand out? Throw in unexpected touches.
- Mini pumpkins or gourds
- Cinnamon sticks or dried orange slices for a cozy scent
- Faux feathers for a subtle, whimsical look
Pro tip: Less is more. Just 2–3 unusual elements can elevate the entire design without making it look cluttered.
7. Use Ribbons Strategically
Ribbons aren’t just for kids’ crafts—they add movement, color, and elegance.
- Wide burlap ribbons give a rustic feel.
- Satin or velvet ribbons add a touch of luxe.
- Let ribbons cascade naturally instead of forcing a stiff bow.
Personal insight: I used a long velvet ribbon on my last wreath and swear it looked straight out of a fall magazine. People actually complimented it at my door!
8. Embrace Symmetry (or Don’t)
Here’s the fun part: you get to decide if your wreath is balanced or a little wild.
- Symmetrical arrangements feel clean, polished, and professional.
- Asymmetrical designs feel artistic, organic, and trendy.
FYI: I tend to lean asymmetrical—it feels hand-crafted but still intentional. And IMO, a slightly lopsided wreath looks way more interesting than a perfect circle.
9. Layer Lighting for Extra Wow
Want your wreath to shine even after sunset? Try subtle lighting.
- Mini LED fairy lights wrapped around the wreath
- Battery-operated candles on a porch table beneath it
- Spotlight or porch lantern angled to highlight it
Quick tip: Lighting makes your wreath pop, adds warmth, and creates a cozy vibe. Plus, it gives trick-or-treaters something pretty to admire!
10. Seasonal Finishing Touches
Sometimes the smallest details make the biggest impact.
- Monogram letters: Add your initial for a personalized touch.
- Mini signs: A tiny “hello fall” sign gives a festive vibe.
- Spray glitter or metallic paint: Subtle shimmer catches the light beautifully.
Pro tip: I usually add one finishing touch—like a mini pumpkin cluster or a personalized sign—and it really ties the whole wreath together.
DIY vs. Pre-Made Wreaths
Let’s be honest—both options work, but the choice depends on your goals.
DIY Wreaths
- Pros: Fully customizable, cheaper, rewarding to make.
- Cons: Time-consuming, requires some patience.
Pre-Made Wreaths
- Pros: Quick, professional-looking, no cleanup.
- Cons: Can get pricey, less personal, limited styles.
Personal experience: I mix both. Sometimes I start with a pre-made base and DIY the extra touches. It’s the best of both worlds—saves time but still looks unique.
Placement Matters
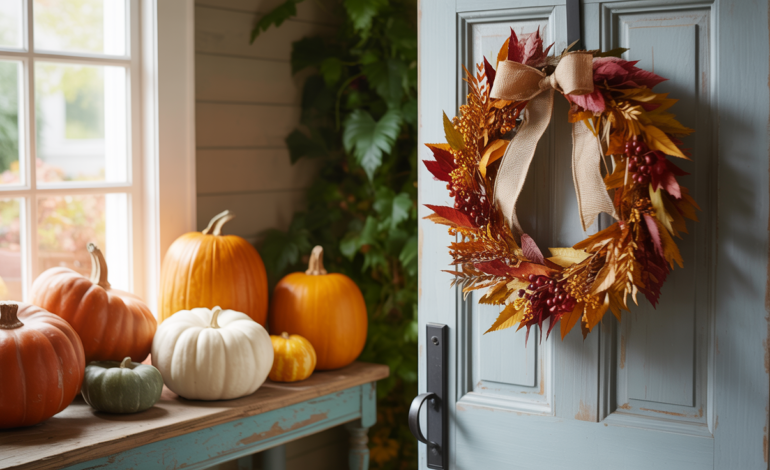
A beautiful wreath deserves a perfect spot.
- Front door: Obvious choice, gives instant curb appeal.
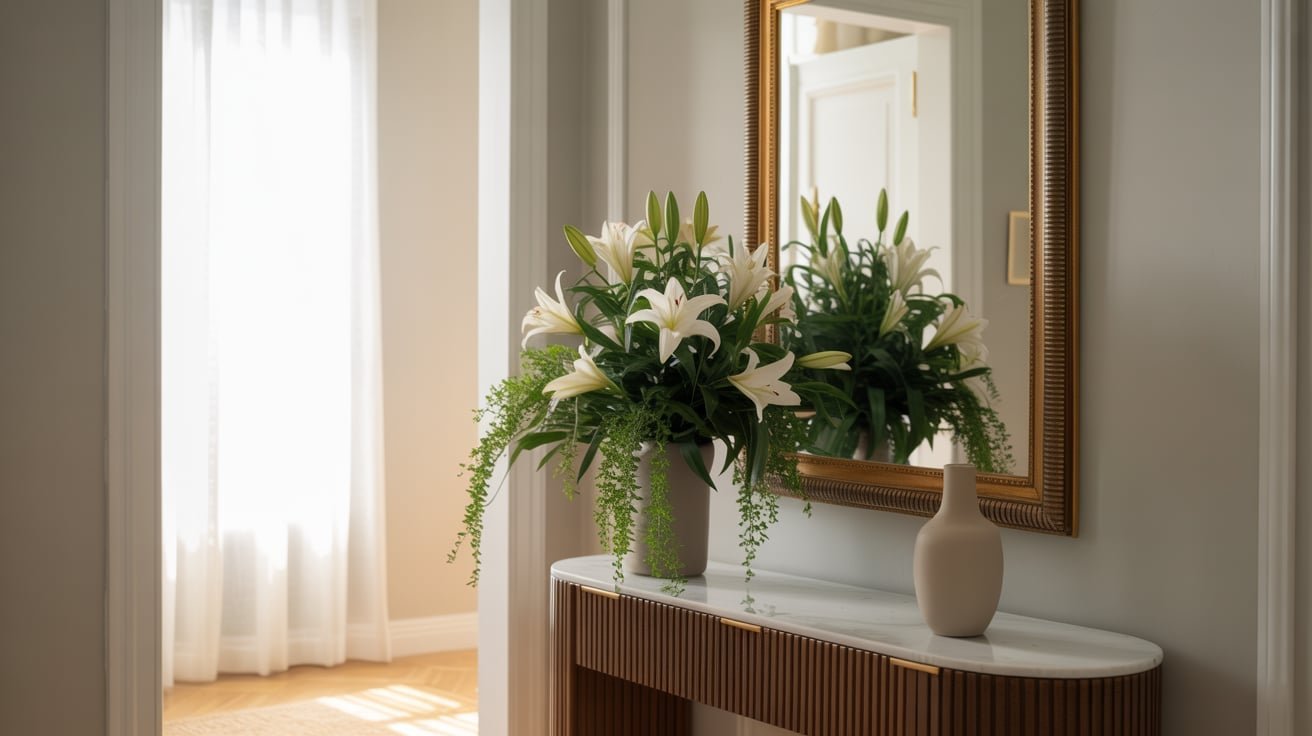
- Interior walls: Hang above a fireplace or entry table for cozy vibes.
- Windows or mirrors: Adds depth and seasonal flair indoors.
FYI: Where you place it can completely change the vibe. A well-positioned wreath makes your whole home feel ready for fall.
Quick Checklist for Fall Wreath Ideas That Wow
Here’s a handy recap to make sure your wreath is both stylish and festive:
- Strong base: Grapevine, foam, or twig frame.
- Cohesive color palette: 2–3 main colors + neutrals.
- Natural elements: Leaves, pinecones, berries.
- Florals: Fresh, dried, or faux flowers for softness.
- Layering: Base + mid-layer + accents for depth.
- Unexpected touches: Mini pumpkins, cinnamon sticks, feathers.
- Ribbons: Flowing ribbons for movement and elegance.
- Symmetry vs. asymmetry: Decide your vibe.
- Lighting: Fairy lights or subtle lanterns for extra impact.
- Finishing touches: Monograms, signs, or subtle shimmer.
Final Thoughts
Creating a fall wreath that wows doesn’t require a craft degree or a massive budget. It’s all about choosing the right base, layering textures, playing with colors, and adding those tiny finishing touches that make your wreath look thoughtfully curated.
Personally, I love mixing DIY elements with pre-made touches—it gives my wreaths personality and keeps things low-stress. And honestly, nothing beats the feeling of hanging a beautiful, seasonally styled wreath on your door and watching it make your home instantly feel cozy and inviting. 🍁
So, grab your grapevine base, a few faux leaves, and maybe a mini pumpkin (or three) and start creating. Your fall-ready, Instagram-worthy front door awaits! And remember: even if it looks a little “homemade,” a well-styled wreath radiates warmth, personality, and seasonal charm.